
Wow, today is April Fools Day and it marks the start of my birth month. Yipee! Oh yeah...
Happy Birthday to Me!
.jpg) |
| DIY Birthday Banner |
This is a handmade banner that I recently made for a friend while watching "Castle." Yes, I usually make crafts while listening to music, watching a tv series or a movie. Don't you? Tell me about it.
So, let's start! Here are the materials and tools that you will need:
Cardstock - I used 2 shades of Teal and Kraft cardstock, 3 pcs
Glue, Tape
Twine
Tools:
Cricut machine and a font (Cricut Base Camp) cartridge
Martha Stewart scoring board
Martha Stewart centering ruler
Fiskars rotary cutter
Steps:
1. Determine the size of the letters that you want for your banner - I used 4 inches in this particular project. You may print the letters manually or use a cricut or a similar machine - I used cricuts' Base Camp font here.

2. Prepare the banner by cutting cardstock into 3.5 x 8 inches.

3. Adhere the letter, making sure it is centered.
.jpg)
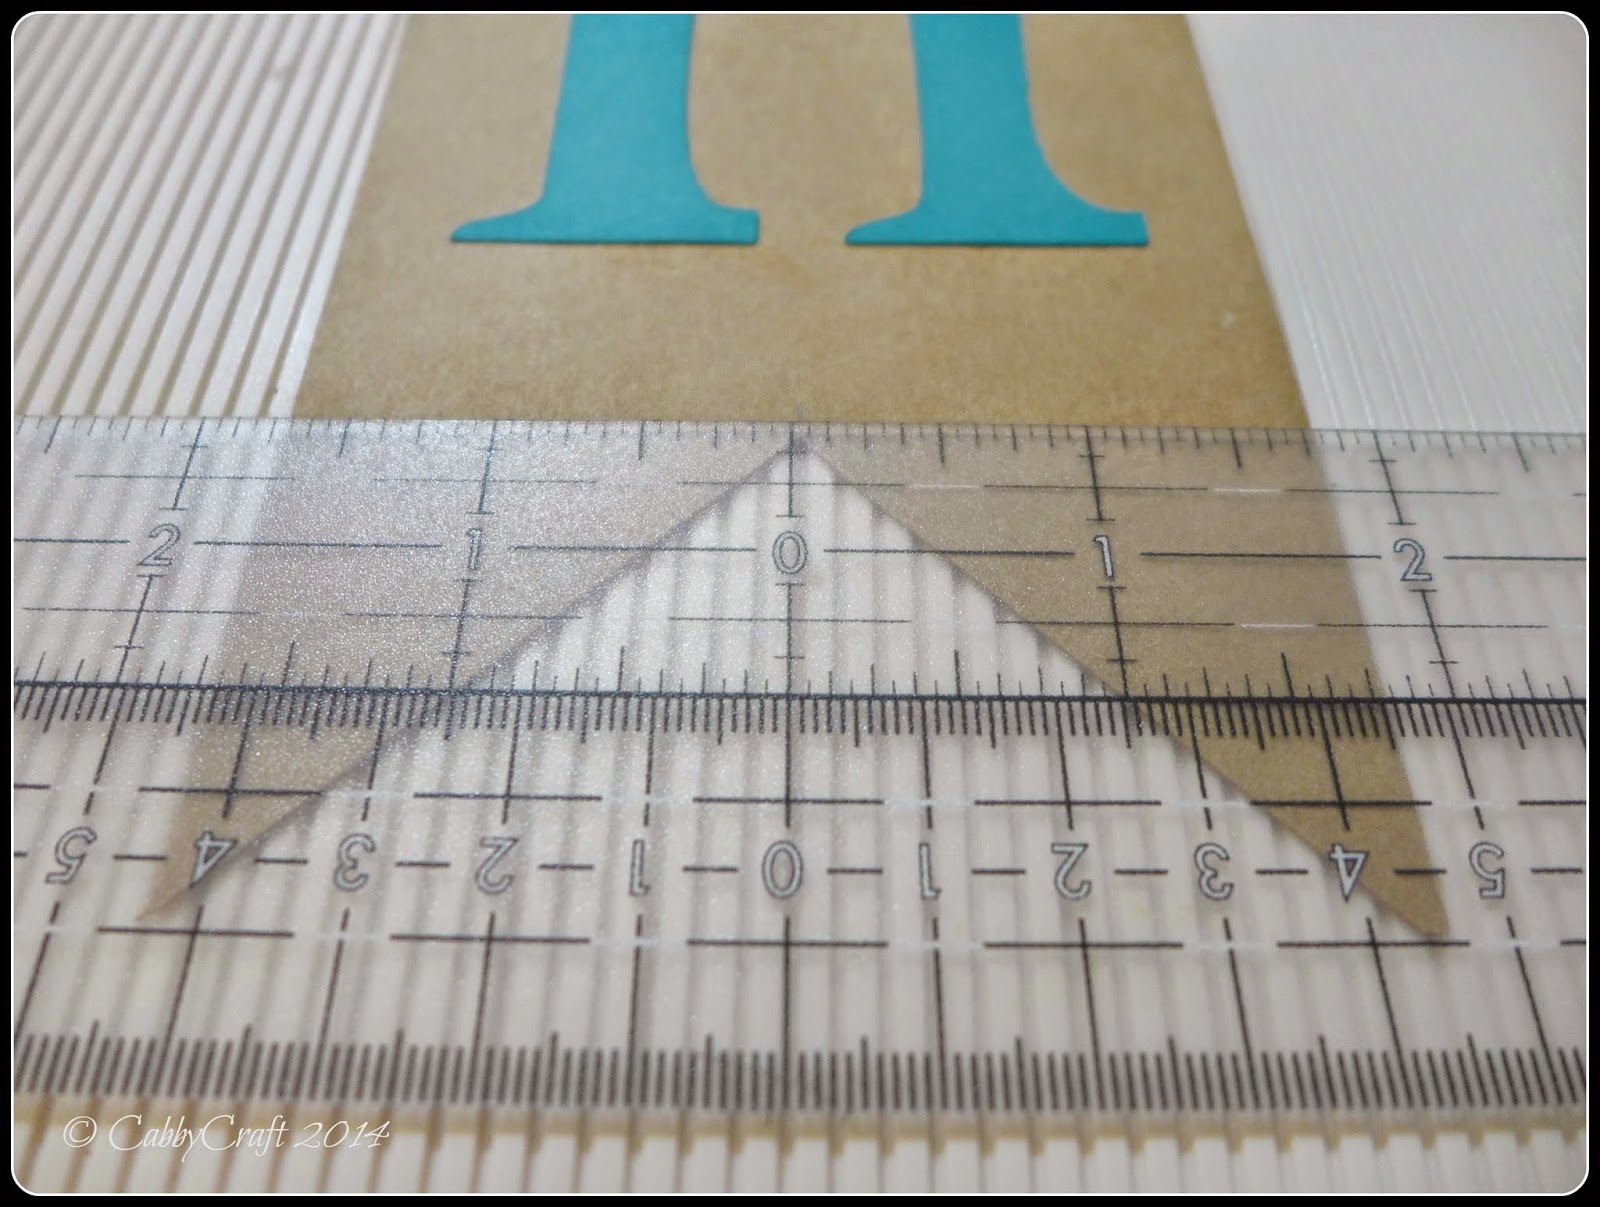
4. I measured 1.5 inches from the bottom of the banner, got the center and cut one corner to the center, creating an inverted "V" shape. You may adjust the height according to your preference, that is, depending on how long you want the tail to be. I love using my MS centering ruler because it makes it so much easier,

6. Fold the top flap and secure it with an adhesive or tape. I used hemp cord because the party theme for this project was kinda rustic.
That's all, folks! It didn't take long to make and wasn't costly at all. Come back soon to see how we made used of this. Enjoy!
Happy crafting!
♥ michelle
No comments:
Post a Comment