Showing posts with label Packaging. Show all posts

Tuesday, December 31, 2013

[Flashback] December 2013: A Blessed Christmas to You!

Yes, my favorite season is here!
From our home to yours,
a Blessed Christmas to you and your family!
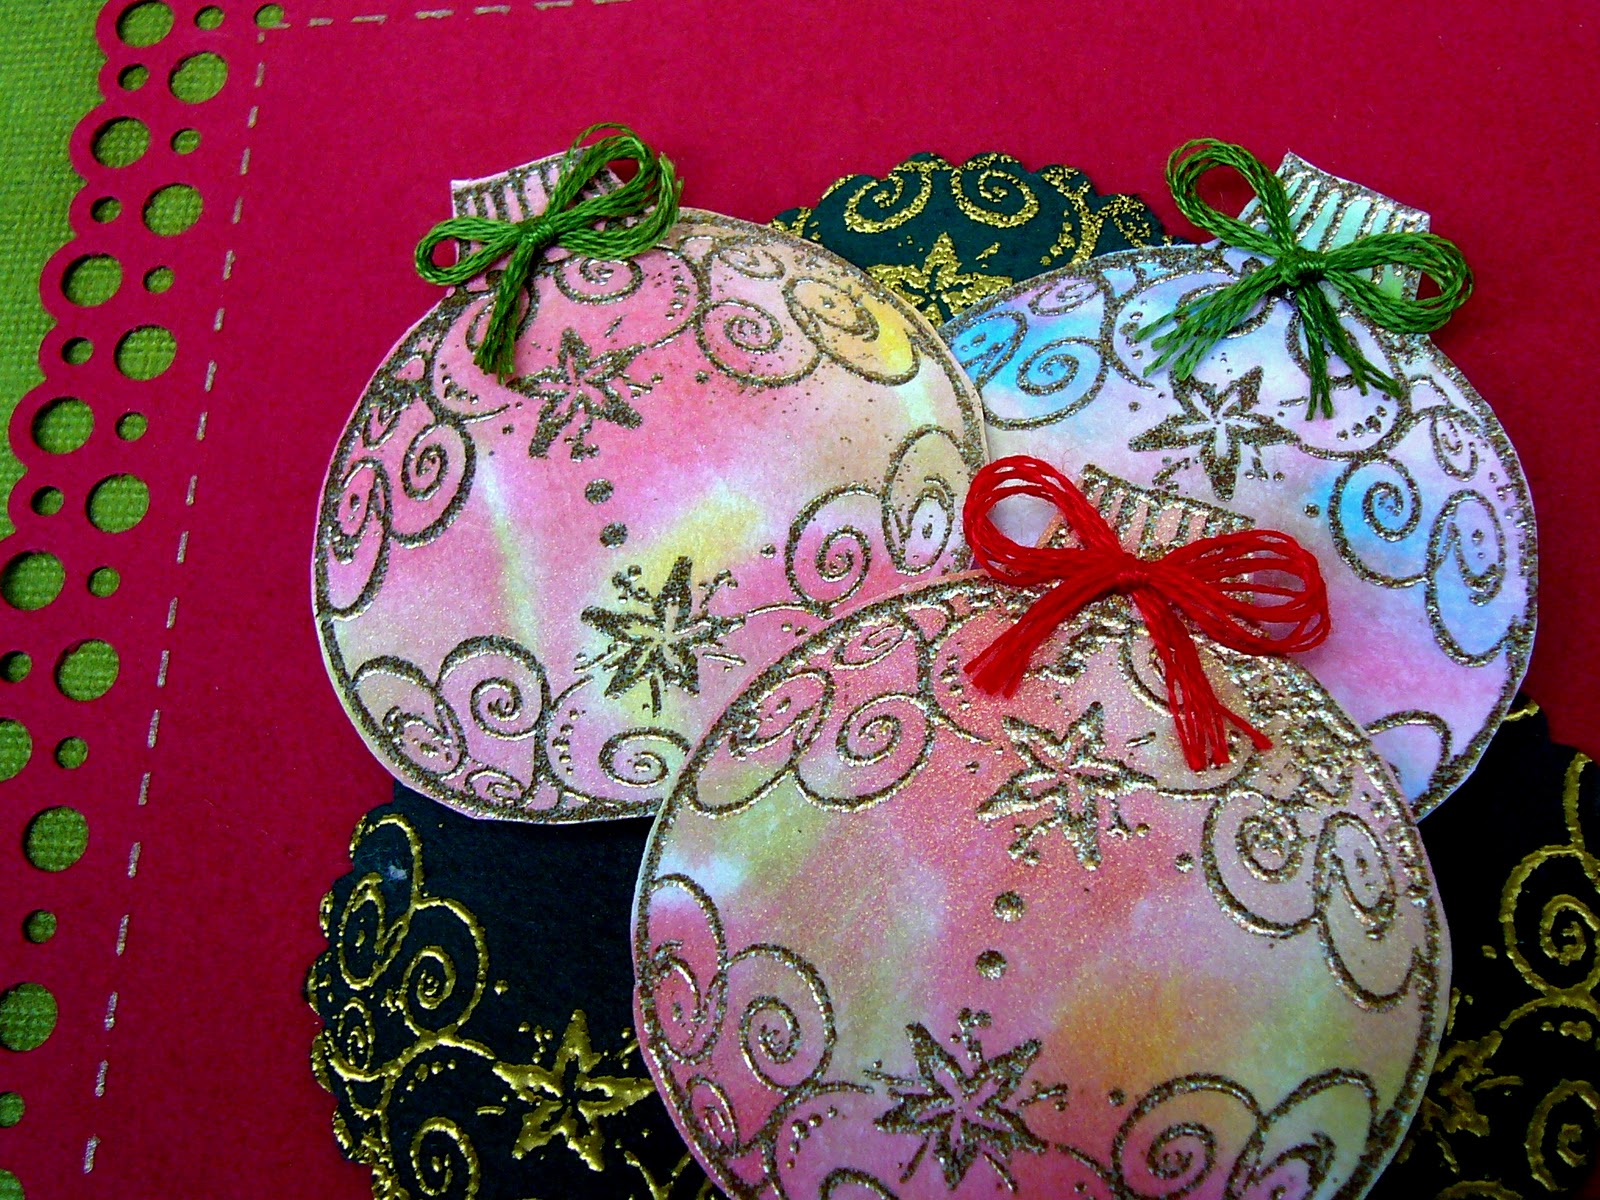
From top to bottom, clockwise:  handmade Christmas tree ornaments, Santa's hat tarts, Handmade cards for the in-laws, Egg tarts, Christmas tree sugar cookies, decorated handmade tree
These Christmas Tree cookies are delicious.  I tweaked my sugar cookie and icing recipes and it turned out great!  Mr. C made a paper mache tree where we attached the cookies for display during our church luncheon.  The santa hat strawberry looked cute.  It took me awhile to make the tart shells - I had a hard time putting it on the baking pan.  
Oh, I tried making egg tarts that wasn't too sweet but nevertheless delicious.

For our gifts, we gave out "Some of our Favorite Things" this year from Trader Joe's.

Trader Joe's Goodies
Thank you for support and time in reading our blog.  
As the new year dawns, I wish good health and more blessings from God.

Cheers!
 michelle  ♥

Tuesday, August 6, 2013

[Packaging Ideas] Cookies in Burlap

Welcome back!  A few weeks ago, I shared with you about baking Pinipig Cookies.

Well, my husband and I sent some of it to Chicago as a birthday present to our cousin.
We placed the cookies in a plastic container and then wrapped it in burlap and tied an orange ribbon.  The cookies fit well in the container but my guess is that it crumbled during shipping.

What do you think about her birthday card?  
I stamped the image using Hero Arts Clings CG315 and added Colorbox pigment inks and embossed it with Judikins clear detail embossing powder.  I like how it turned out... the colors, dimension, gloss and all.
The sentiment is from the Hero Arts CL488 clear stamp set.

I'm into "orange" recently as seen in my projects.  
Remember the orange tulips in my mosaic challenge?

"Orange you glad we're halfway through the week?"
I am.

See you soon!
♥  michelle  ♥

Sunday, June 9, 2013

[Gifts] Charming Charlie Graduation Gifts, Handmade packaging and Dayspring Cards

It's Graduation time here in the States and we got several friends whose children are graduating from kindergarten, high school and college.  Wow, such a fun and exciting time for the graduates and their families.  Today, we are attending the graduation parties of 2 ladies (one of them is also celebrating her debut).

I wanted to make them something but it's been a hectic weekend so I bought them these pretty necklaces from Charming Charlie.  I love going to their store because it so full of eye candy, beautifully arranged by color scheme.  Their designs are nice but definitely not one-of-a-kind.  

Charming Charlie Blue

Charming Charlie Purple

I packaged the necklaces in a black box and added an embossed card that I colored using Tombow ABT markers and Tim Holtz's distress inks.  I added dimensional magic over the birds and tied a light blue ribbon around the box.  Simple but pretty.  The blank cards are from Daysrping Blank Notecards - I prefer blank notecards because I like writing personalized messages.

I remember by HS graduation which we are celebrating 25 years of in December.  Yay!  It's Silver Jubilee and it's a big celebration.  I wish I can go home to Manila and be there.  

Oh my gosh!  I couldn't imagine bow fast time flies.  When I was younger, I would watch my mom and her classmates laugh their hearts out while reminiscing their days in HS and Nursing school and now... it's my turn.  Good thing, I don't have kids who'd laugh at how funny we are.

There are times when I wish I was still young - with money regularly being given to me and who's responsibility was just to study.  I have to give all credit to my Dad and Mom for working hard to send me and my 2 siblings to school.  I was in Med school so they had to spend more money on me - time, love, effort and money that I can never repay them back.  Thanks, Daddy and Mommy!

Do you have children who are graduating soon or are you an empty-nester already?

Have a great and blessed week, my friend!
♥  Michelle  ♥

Monday, November 15, 2010

Potted beret [Gift packaging idea]

My sister-in-law's birthday is coming so I made her a green beret.  The next thing I had to figure out was how to uniquely package it.  Hmmmm... I looked at my craft nook and saw a ceramic pot that I bought a few months ago.   So there...

Materials needed are as follows:
Cardstock
Quilling paper, slotted quilling tool
Scissors, craft tweezers, glue
A lot of creativity and love ☺ 
Steps:
1.  Prepare quilled flowers.  I made a balloon, white daisies, yellow buds and weaved brown paper to serve as a flower pot.  {Click if want to learn paper quilling}.


2. Once the flowers are ready, it's time to arrange them.  This is where the excitement begins. I used glossy accents - I love how the tapered opening makes it easier to get into small spaces.


3.  Attach the finished bouquet onto the base cardstock.  You may use double-sided adhesive.  Then, tape a stick behind the card - be sure to secure it properly (you wouldn't want your tag to fall off the stick and ruin the surprise ☺)
To avoid injuries, make sure you trim the pointed end of the stick.  This is important especially if you are making projects with the little ones.
There you have it!  This card will make your potted gifts extra special.

Since summer is over, I opted to use a colorful ceramic pot to "plant" my handmade crocheted green beret.  I formed it into a rose and wrapped it in tissue paper before placing it in the container.  Then, I added the finished gift tag.  Tadaaaaa!
The inside of the card reads:  "May God continue to bless and embrace you with the warmth of His love.  We love you.  Happy birthday."  ☺♥☺


Thursday, October 28, 2010

Getting ready for Christmas

Christmas is in the air!  You can hear the good ol' Christmas songs being played in the radio.  It's the season that I love the most.    It's a time to celebrate the birthday of my Saviour and King, Jesus Christ.  It's a time of rejoicing with family and friends, giving gifts and exchanging cards.
I have my first Christmas gift all boxed up today...yay!  I combined my love for crochet and crafts and came up with a nice gift for a very special person.  This is also my first time to make a box using MS tools... awesome!  For this project, i used the block stamping technique (thanks, Jennifer McGuire and HA tutorials) and a lot of embossing (thanks Nancy Taylor and Nicky Hsu).  You can hop on to the  HA blog and check out their great tutorials and creative cards.
Thanks for dropping by.  May you have fun being creative as well!  Blessings!

 I made a square box measuring 7"x7" and decorated with with stamped images and added a border and ribbons.
Materials: 
HA F526 Flourish ornament rubber stamp
CL 464 Sending holiday cheer
Versamark ink, Ranger distress ink Walnut stain
Embossing powder Medieval metals and Black
Cardstock:  red, green, brown, white metallic
Floss:  red and green
Martha Stewart punch around the page:  Bubble bath
Martha Stewart scoring board
markers, foam tape, tape adhesive